
Have you opened your monthly energy statement, expecting a standard charge, only to find a massive, unexplained increase that breaks your budget? Utility bills that jump 30 to 50 percent year-over-year without a corresponding shift in weather patterns or household thermostat habits present a frustrating diagnostic dilemma. Homeowners look in the wrong places to solve this puzzle. They assume a sudden spike stems from a rate hike, an isolated electrical glitch, or a single failing appliance, ignoring the systemic thermal degradation that drives most energy waste. The truth is that residential energy consumption relies on two interdependent fronts: mechanical efficiency and envelope integrity. Mechanical efficiency involves the equipment converting energy into heating or cooling. Envelope integrity relates to the structural barriers preventing conditioned air from escaping. This guide delivers an actionable, step-by-step testing sequence to help you pinpoint the exact source of your energy loss. By auditing both your mechanical systems and your structural envelope, you can determine whether the utility leak is an equipment issue, a physical barrier failure, or a compounding combination of the two.
Isolate Mechanical System Failures

To find the root cause of a sudden energy spike, you must eliminate basic equipment malfunctions. You can calculate the temperature split across your supply and return plenums using an infrared probe thermometer or a digital psychrometer. Measure the return air temperature as it enters the air handler, and then measure the conditioned supply air as it exits the plenum. During a standard cooling cycle, the efficiency benchmark dictates a target temperature split of 16 to 22 degrees Fahrenheit.
When your readings show an 8-degree split, this deviation reveals significant problems like refrigerant charge leaks, fouled evaporator coils, or severe blower speed misconfigurations. Identifying these mechanical shortfalls early prevents minor inefficiencies from ballooning into catastrophic system failures. Homeowners noticing this specific temperature disparity should schedule professional AC repair and maintenance to restore the baseline temperature delta and prevent compressor burnout.
Beyond temperature splits, you must check the blower motor amperage and observe short-cycling patterns. You can use a clamp-on multimeter at the disconnect box to measure the running load amps against the factory specifications listed on the unit data plate. When the system pulls high inrush currents multiple times per hour, you likely have hidden power draws triggered by clogged condensate traps, failing run capacitors, or tripped limit switches.
These exact electrical and airflow restrictions trigger premature wear and high fuel consumption during cold weather operations. Similar motor strain on burner assemblies necessitates immediate heating and furnace repair before winter peak loads overwhelm the system entirely.
You can complete a five-point visual inspection to monitor these mechanical baselines:
- Verify the air handler cabinet is free of condensation and frost.
- Inspect the wiring harness for frayed connections or scorch marks.
- Check the air filter slot for dust bypass or restrictive blockages.
- Listen for erratic fan motor noises during system startup.
- Record the exact cycle length from the moment the thermostat clicks to the time the fan stops.
Monitoring these elements helps you build a factual baseline. When you hand this data to a technician, they can diagnose the specific root cause with immense speed. This targeted approach eliminates the guesswork that leads to replacing parts unnecessarily.
Audit Thermal Distribution Channels
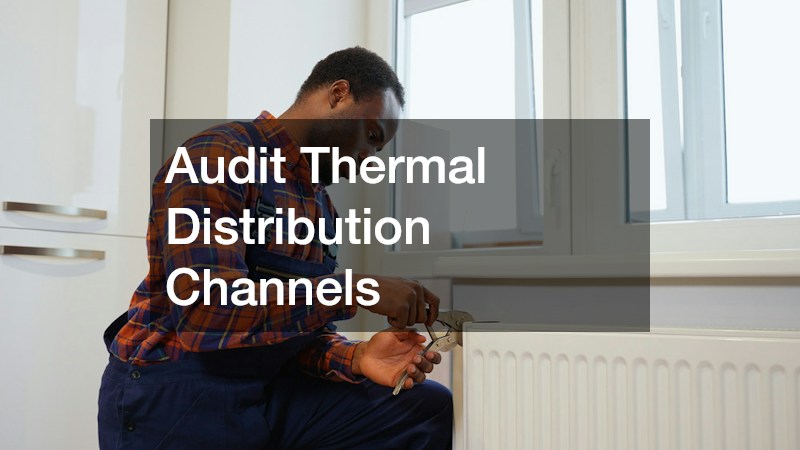
Conditioned air escaping into unconditioned spaces forces your equipment to run longer cycles, driving up energy costs. You can perform a smoke pencil test along exposed duct seams to identify hidden pressure differentials. Unsealed ductwork in an attic or crawlspace turns the system into a vacuum that exhausts valuable conditioned air outward. This phenomenon creates a chimney effect inside the ducts, pulling unconditioned air into the living space and forcing the thermostat to demand more output.
To detect these leaks, run an incense stick or a chemical smoke generator along the plenum joints, boots, and flexible-to-rigid duct transitions while the fan runs. Watch for the smoke to flutter or pull away from the seam, which indicates a breach in the static pressure seal. Standard duct tape fails within 18 months, leaving gaps that require fiberglass mesh tape combined with mastic paste to eliminate thermal losses. Securing these breaches prevents the chronic wear and tear that leads to expensive heating repairs down the road.
Unsealed ducts also trick thermostats into running 25 percent longer cycles to satisfy the temperature setpoints. You must inspect the burner flame color and exhaust draft pressures to guarantee combustion efficiency. Inspect the flame appearance in gas or oil combustion chambers. A crisp, steady blue cone indicates clean burning, while an erratic, lazy yellow flame signals incomplete combustion and dangerous soot build-up. Professionals have the specialized combustion analyzers needed to measure parts per million of carbon monoxide in the flue gas. Adjusting the air-to-fuel ratio ensures you extract every possible BTU from the gas you purchase.
You should check the draft hood draw to identify backdraft conditions caused by negative pressure in your utility closets. Incomplete combustion wastes up to 20 percent of fuel volume. Rectifying this issue requires precise local heating repairs to recalibrate the gas manifold pressure and restore the factory efficiency ratings.
Before attempting any invasive duct or combustion testing, run through these safety protocols:
- Test all carbon monoxide detectors in the immediate vicinity of the utility closet.
- Verify a clean, unobstructed flue pathway to the exterior roof cap.
- Ensure the utility room has adequate make-up air for proper combustion.
- Check for the distinct smell of mercaptan, indicating a slow gas leak.
- Confirm the pilot assembly ignites smoothly without delayed booms or rattles.
Gauge Passive Heat Transfers
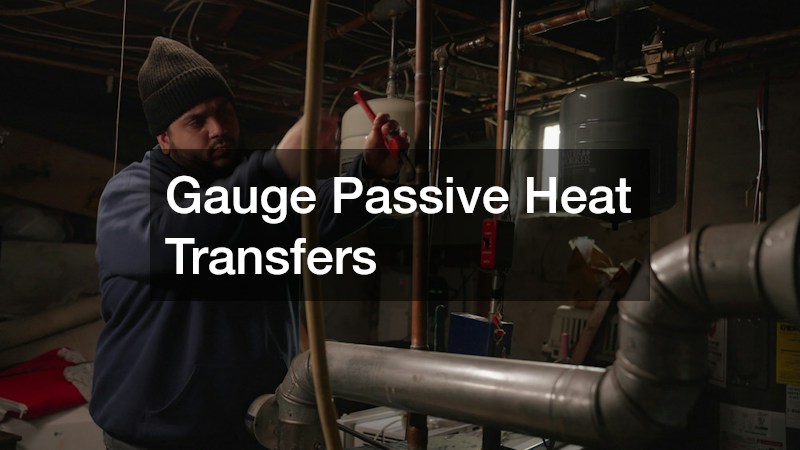
Your home’s attic serves as the primary barrier between harsh outdoor elements and your delicate indoor climate. Solar radiation transforms an under-ventilated attic into a thermal battery that can reach 150 degrees Fahrenheit, sitting right above your living spaces. You can measure this heat flux by taking comparative surface temperature readings of the attic roof decking, the rafter bays, and the top plates of bedroom ceilings using an infrared thermometer. Balancing the pressure and temperature variables stabilizes the indoor climate.
High attic floor temperatures radiate heat downward through the drywall ceiling. This dynamic forces your cooling equipment to work against a barrier that functions like a giant radiator. The extreme rafter temperature differentials demand an on-site evaluation by an experienced roofer to assess the under-deck ventilation channels and radiant barrier integrity.
To understand this airflow balance, apply the 1:300 ventilation rule. This mathematical standard dictates the net free area required for passive airflow, demanding 50 percent low intake at the soffits and 50 percent high exhaust at the ridge. Blown-in cellulose or fiberglass insulation shifts over time, covering soffit vents and choking the essential intake airflow. Without cool air entering from the bottom, the hot air at the top has no mechanism to escape, creating a stagnant pocket of superheated air.
You can diagnose a short-circuited exhaust system by identifying misplaced power ventilators that pull air backward through ridge vents rather than drawing cool air from the eaves. Installing proper foam insulation baffles ensures the intake path remains clear. Correcting these blocked pathways requires an exterior roofing service to unblock exhaust caps and ensure unobstructed continuous airflow.
Follow these guidelines to evaluate your attic’s thermal transfer profile:
- Scan the ceiling drywall with a thermal camera on a hot afternoon to spot dark heat blooms.
- Inspect the soffit vents from the outside for heavy dust buildup or insect nests.
- Verify that bathroom exhaust fans vent outside the building envelope, not into the attic space.
- Measure the temperature difference between the attic ambient air and the outdoor shade temperature.
- Check for crushed insulation around recessed lighting canisters that causes thermal bridging.
Identify Severe Envelope Degradation
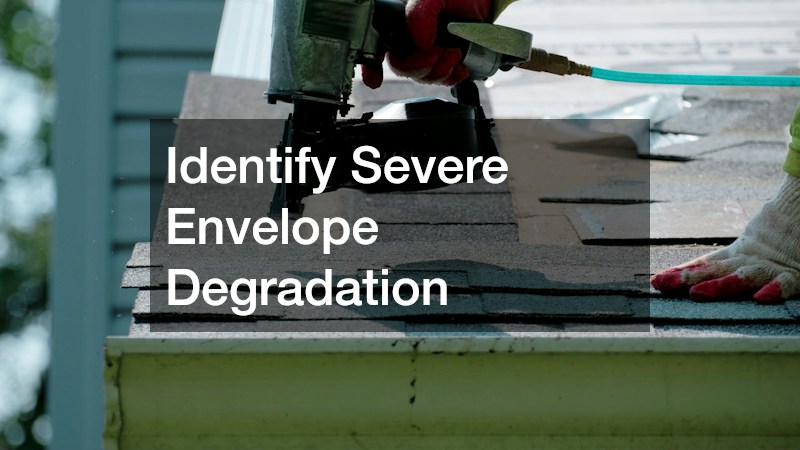
Structural degradation undermines your home’s energy performance, even with a flawless mechanical setup in place. Wind-driven rain or unsealed attic penetrations allow moisture to infiltrate, causing fiberglass and cellulose to compress and lose their loft. This physical collapse cuts the thermal resistance of the material in half. You can use a pinless moisture meter on the attic floor joists and insulation batts to detect slow leaks long before water stains become visible on the drywall ceilings below. The synergy between your shingles, the underlayment, and the decking dictates the overall health of the house. Ignoring the early warning signs of rot leads to catastrophic structural failures during heavy storm seasons.
Thermal imaging cameras reveal missing insulation zones, dark heat leaks, and absent vapor barriers around attic access hatches on cold mornings. To remedy these gaps, you must clear the ruined insulation and air-seal the ceiling deck with expandable foam. Resolving the exterior moisture entry points requires engaging certified roofing contractors to find the flashing failures and secure the structural envelope.
Beyond the insulation, you must evaluate the age of your shingles, deck sagging, and underlayment failures. Brittle, curling, or granule-depleted asphalt shingles lose their solar reflectance. The loss of these reflective granules drives massive cooling loads straight into the structure. You need to check the plywood decking for soft spots, rotted framing, and waterlogged strand board underlayment that trap latent humidity inside the attic perimeter.
Homeowners face a critical financial calculation when cumulative patch jobs no longer stabilize the building’s energy performance. Transitioning to a full high-performance roof replacement with reflective, cool-weather materials proves more financially viable than scheduling perpetual leak repairs that fail to stop energy bleed.
Pay attention to these visible indicators of severe envelope decay:
- Granule accumulation inside the gutter troughs, indicating the shingle surface has deteriorated.
- Daylight showing through the roof boards when standing inside the dark attic.
- Rusty nails protruding through the roof deck, signaling high moisture content in the wood.
- Spongy sections on the roof deck that flex under weight during an exterior inspection.
- Curling shingle edges that catch the wind and break the watertight seal.
Upgrade Outdated Equipment Configurations
When the mechanical audit and envelope inspection reveal systemic age-related failures, you must calculate the return on investment for replacing outdated machinery. Older units running on outdated seasonal energy efficiency ratios pale in comparison to modern variable-speed inverter systems. These advanced configurations eliminate the spike-inducing power draws common with single-stage compressors. Dual-fuel configurations and high-efficiency inverter technology solve chronic utility spikes during shoulder seasons and extreme temperature fluctuations by ramping up capacity in tiny increments. Modernizing the equipment configuration represents a major leap in home performance technology. Sensors and smart thermostats talk directly to the variable-speed blowers to regulate the environment with precise output. Ensuring the architectural shell matches this technological leap guarantees maximum comfort. The financial payback timeline shrinks when you pair intelligent machinery with a tightly sealed structure.
Replacing equipment without first upgrading the building envelope leads to massive operational flaws. Installing a high-capacity unit in a drafty house creates a short-cycling environment where the machine satisfies the thermostat before it can pull latent humidity from the air. Calculating the energy savings and rebate incentives associated with an all-electric or hybrid heat pump installation helps justify the upfront capital expenditure compared to running aging equipment to absolute failure.
You must conduct a true load calculation to size the system correctly based on the new envelope upgrades. Simple square footage rules of thumb fail because they do not account for modernized roof insulation, low-emissivity windows, and sealed ductwork. Roof improvements like reflective coatings lower the required tonnage of the mechanical systems.
Heating companies that refuse to measure static duct pressures or calculate true envelope heat loss before recommending new equipment stick you with an oversized, inefficient unit. You must ask prospective technicians to prove their sizing methodology before signing a contract.
Use this multi-trade coordination checklist before finalizing any equipment upgrades:
- Demand a computerized load calculation report based on the specific orientation of the house.
- Verify that the proposed equipment qualifies for current federal tax credits and local utility rebates.
- Confirm the new air handler dimensions fit within the existing utility closet or attic framing.
- Install circuit-level electrical monitors to track real-time power draws and verify post-upgrade savings.
- Schedule the envelope sealing and insulation blow-in prior to the final mechanical sizing process.
Establish Predictable Efficiency Baselines
Diagnosing sudden utility spikes requires looking past the monthly statement to investigate the physical structure of your house. These sudden jumps in energy costs do not stem from a single broken component. They arise from the complex, hidden interplay between failing mechanical performance and decaying structural containment. Prioritizing immediate, low-cost fixes like filter replacements, duct mastic application, and soffit clearing stops the initial bleeding. Medium-term investments in attic insulation and professional tuning build on that foundation, preparing the home for long-term capital improvements in equipment and roofing materials.
Establishing a bi-annual diagnostic cadence keeps your utility bills predictable across peak summer and winter cycles. A proactive homeowner does not wait for a catastrophic compressor failure or a ceiling leak to act. By tracking Delta-T spreads, electrical draws, and thermal transfer rates, you maintain absolute control over your indoor environment. Tracking these metrics extends the overall lifespan of your infrastructure and turns a chaotic, expensive emergency into a planned, manageable maintenance routine.