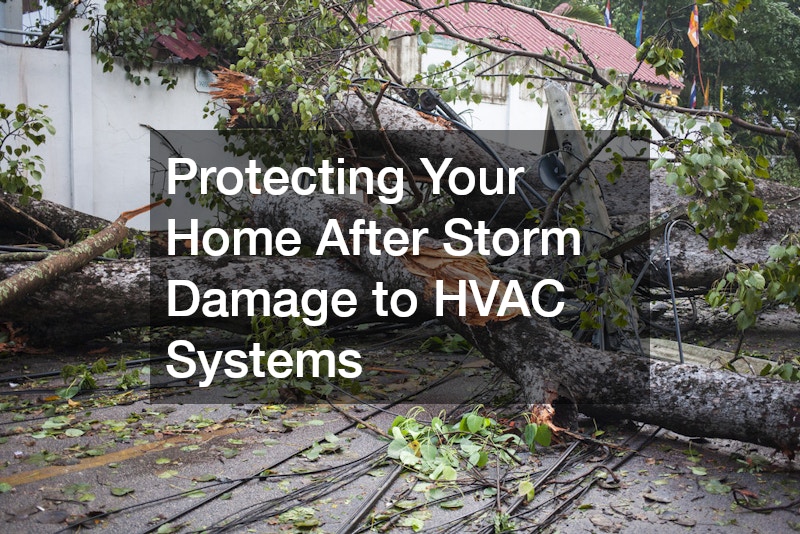
When a major storm rolls through, your HVAC system is often one of the first casualties, leaving your home vulnerable to temperature swings, moisture buildup, and further structural issues. Knowing how to assess the damage, protect your property, and coordinate repairs can mean the difference between a quick recovery and months of costly setbacks. This guide walks you through the practical steps homeowners should take after storm damage strikes their heating and cooling systems, plus the related areas of your home that often need attention at the same time. Whether you are dealing with a downed outdoor unit or water intrusion near your equipment, being proactive now will save you time, money, and stress later.
Spotting the Warning Signs After a Storm
The first step after any severe weather event is a careful visual inspection of your HVAC system, both indoors and out. High winds can bend fins on outdoor condenser units, hail can dent cabinets, and flying debris can puncture refrigerant lines, all of which reduce efficiency or cause total system failure. Storm damage is not always obvious right away, so it pays to look closely at electrical connections, insulation, and drainage lines before assuming everything is fine.
Beyond the equipment itself, pay attention to unusual noises, weak airflow, or a burning smell when you turn the system back on. These symptoms often indicate deeper problems that a simple reset will not fix.
- Check outdoor units for visible dents, debris, or standing water around the base
- Listen for grinding, rattling, or clicking sounds when the system starts up
- Inspect indoor vents for musty odors that suggest moisture intrusion
- Look for tripped breakers or blown fuses tied to the HVAC circuit
- Photograph all damage immediately for insurance documentation
Deciding Whether to Repair or Replace Your System
Not every storm-damaged HVAC unit needs full replacement, but knowing when repair makes sense requires an honest assessment of age, damage severity, and cost. A useful benchmark is the “50% rule”: if repair costs exceed half the price of a new system, replacement is usually the smarter long-term investment. Units older than 10-15 years are especially poor candidates for major repairs, since their efficiency has already declined and parts may be harder to source.
A system that was already near the end of its expected lifespan may not be worth repairing if the compressor or coil sustained major damage, as these components alone can cost $1,500 to $3,000 to replace. Older units running on R-22 refrigerant add another complication, since that refrigerant has been phased out and is increasingly expensive to obtain.
On the other hand, a newer unit with only minor debris or electrical issues can often be restored quickly and affordably. Bent fins, clogged condensers, or a tripped breaker typically cost a few hundred dollars to fix and won’t compromise the system’s remaining lifespan. In these cases, a licensed technician’s inspection report can help confirm that repair is the financially sound choice.
It helps to get a professional evaluation before making a final decision, since some damage is not visible from the outside. A technician can pressure test refrigerant lines, check electrical components, and confirm whether the unit is safe to operate again. This inspection typically costs between $75 and $200, but it can save you from either overpaying for unnecessary repairs or unknowingly running a compromised system.
As a general rule, if repair costs exceed 50% of the price of a new system, replacement usually makes more financial sense, especially for units already over 10 years old. Age matters because older systems often use outdated refrigerants like R-22, which are being phased out and can be expensive to source for repairs. A technician can also tell you whether your unit’s core components, such as the compressor or coil, sustained damage that tends to lead to repeat failures down the road.
Don’t overlook your insurance policy during this process, since many homeowner’s policies cover storm-related HVAC damage, but the payout details can vary based on your system’s age and depreciation value. Getting a written estimate from a licensed HVAC contractor, along with dated photos of the damage, will strengthen your claim and speed up the reimbursement process.
- Compare repair costs to the price of a new energy-efficient system — if repairs exceed 50% of replacement cost, replacement is usually the smarter investment
- Ask about remaining warranty coverage on the damaged unit, since parts or labor may already be covered and could offset repair costs significantly
- Consider how many storms the current system has already survived, as units over 10-15 years old are more likely to have hidden stress damage
- Factor in rising utility costs if the unit is outdated or oversized, since older systems can run 20-40% less efficiently than new ENERGY STAR-rated models
- Check if replacement parts for your current system are still being manufactured, as discontinued components can mean longer repair delays
- Ask your contractor for a side-by-side cost comparison over a 5-10 year period, including expected energy savings and maintenance costs
Bridging the Gap With Temporary Comfort Solutions
While your primary HVAC system is being repaired or replaced, your family still needs a way to stay comfortable, especially during extreme heat or cold. Many homeowners are turning to mini splits as a flexible, short-term solution because they require no ductwork and can be installed relatively quickly in a single room or small area. These units are also useful as a permanent backup option in homes that experience frequent severe weather.
Portable options exist too, but they tend to be less efficient and louder than a properly installed alternative. If your home has experienced repeated storm-related HVAC failures, it may be worth discussing a hybrid setup with a contractor so you always have a reliable fallback.
- Mini splits can often be installed in a day or two with minimal disruption
- They allow zoned comfort, cooling or heating only the rooms you need
- Backup units reduce reliance on a single point of failure during future storms
Checking for Water Intrusion Below Ground
Homes with HVAC equipment tied into basement mechanical rooms face an added risk after heavy rain or flooding. Water can seep through foundation cracks, damage ductwork, and create the perfect environment for mold growth around your system. If you notice dampness, efflorescence, or a musty smell near your basement equipment, it is worth having the space evaluated before running your HVAC system again.
In more serious cases, a basement contractor can identify structural vulnerabilities that allowed water in, such as poor grading, damaged waterproofing membranes, or cracked foundation walls. Addressing these issues early prevents repeat flooding and protects the investment you make in HVAC repairs.
- Check for water stains or discoloration around ductwork and vents
- Test sump pump function if your basement relies on one
- Look for gaps around pipe penetrations where water can enter
Protecting Plumbing Connections Tied to Your HVAC
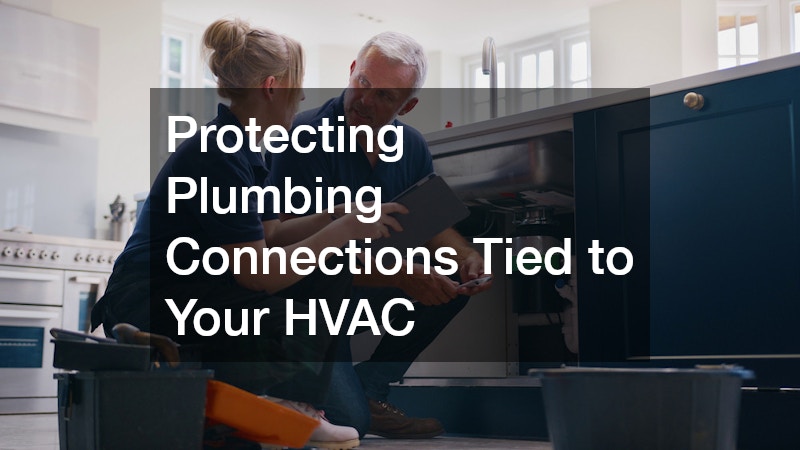
Many HVAC systems, especially those with humidifiers, boilers, or condensate drains, rely on plumbing connections that can also suffer during a storm. Flooding or pressure surges can crack pipes, dislodge fittings, or introduce contaminants into your water supply lines. Because these systems are interconnected, storm recovery is rarely just an HVAC issue in isolation.
Bringing in licensed plumbers alongside your HVAC technician ensures nothing gets missed during the repair process. This is especially important in homes with older galvanized piping, which is more prone to cracking under stress from flooding or freezing temperatures.
- Inspect condensate drain lines for clogs or breaks after flooding
- Check water heater connections if they share space with HVAC equipment
- Have shutoff valves tested to confirm they function properly
Addressing Flooring Damage Near HVAC Equipment
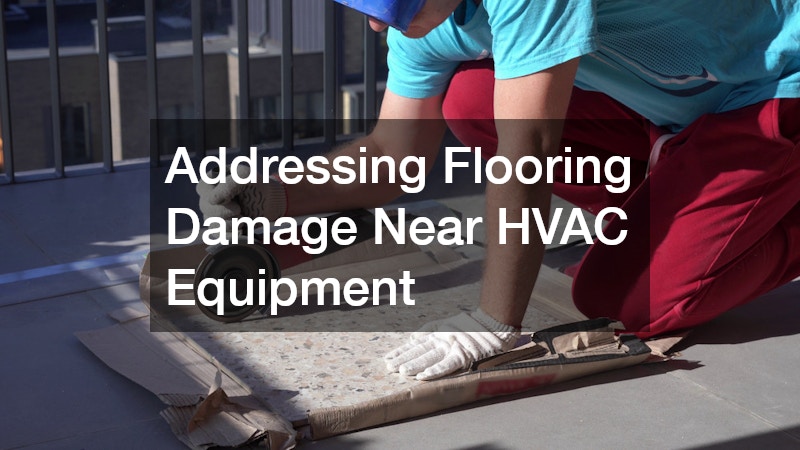
Water leaks from a damaged HVAC unit or nearby plumbing can quickly ruin flooring, particularly in utility rooms, basements, and bathrooms where tile is common. Standing water can loosen grout, cause tiles to crack, and lead to mold growth underneath the surface if not addressed quickly. This kind of damage often goes unnoticed until tiles start to shift or discolor.
Professional tile restoration can salvage much of the original flooring rather than requiring a full replacement, saving both time and money. A specialist can also identify whether the subfloor sustained moisture damage that needs to be resolved before any cosmetic repairs begin.
- Remove standing water within 24 to 48 hours to limit mold growth
- Watch for hollow sounding tiles, which may indicate loose adhesive
- Address grout discoloration early, as it often signals moisture underneath
Restoring Outdoor Spaces Around Damaged Equipment
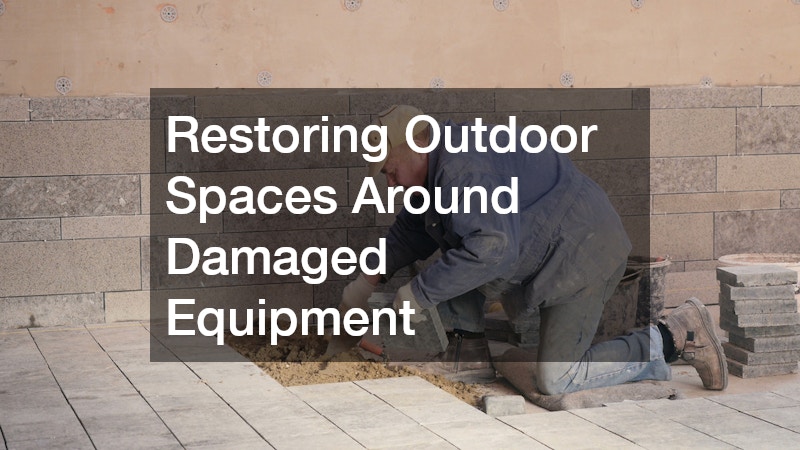
Outdoor HVAC units often sit on concrete pads or gravel bases that can shift or crack during severe storms, especially when paired with heavy rain and soil erosion. If your patio, walkway, or unit foundation was affected, it may be time to consult hardscaping contractors who can restore stable, level surfaces. A properly graded and reinforced base helps prevent future equipment damage from settling ground or pooling water.
This is also a good opportunity to reassess drainage around your outdoor living areas, since poor water flow is often what caused the damage in the first place. Correcting these issues now reduces the risk of repeat problems during the next major weather event.
- Check for cracked or sinking pavers around the HVAC pad
- Improve grading to direct water away from equipment and the home
- Consider permeable materials that reduce runoff and pooling
Building Long-Term Energy Resilience
After experiencing storm damage, many homeowners start thinking about how to make their homes more resilient against future power interruptions and equipment failures. Pairing your HVAC upgrade with solar panel installation can provide backup power during outages and reduce strain on the grid during peak demand. Battery storage systems paired with solar can keep essential systems, including HVAC components, running even when the power goes out.
While this is a larger investment, it often pays off through lower utility bills and increased protection against future weather events. It is worth discussing your home’s energy needs with a qualified installer to determine the right system size for your household.
- Battery backup can keep mini splits or essential circuits running during outages
- Solar systems can be sized to offset HVAC energy consumption specifically
- Rebates and tax incentives may offset a portion of installation costs
Planning Larger Renovations After Major Storm Damage
In cases of severe structural damage, storm recovery sometimes turns into a larger renovation project rather than a simple repair. If your kitchen or utility areas were affected by flooding, water can seep into subflooring, wall cavities, and cabinet bases, often requiring removal well beyond the HVAC system itself. A contractor assessment can help determine whether damage is limited to surface materials or has compromised structural components like joists and drywall.
Many homeowners take this opportunity to upgrade with custom countertops that better withstand moisture and daily wear, such as quartz or sealed granite instead of laminate. These materials resist warping and staining, which matters if humidity levels spiked during the storm or floodwater sat for an extended period. Pairing new countertops with moisture-resistant cabinetry, like plywood boxes rather than particleboard, can further protect against future water exposure.
When planning a larger renovation, it’s worth budgeting an extra 10-15% for unforeseen issues, since hidden damage often surfaces once walls or flooring are opened up. Coordinating HVAC replacement with these upgrades can also streamline the timeline, since ductwork and electrical work frequently overlap with kitchen or utility room renovations.
For homes with extensive damage, some owners choose to start fresh entirely, working with new home construction teams to rebuild sections of the house to modern standards. This route often makes sense when repair estimates start approaching 50% or more of the home’s value, a threshold many insurance adjusters use to distinguish between repair and rebuild scenarios. Bringing in a new home construction crew also means the work can be permitted and inspected as new construction, which typically requires compliance with the latest energy and wind-resistance codes.
This approach can also allow for better HVAC placement and improved insulation from the start, reducing vulnerability to future storms. For example, ductwork can be relocated from a vulnerable attic space into conditioned interior walls or a sealed crawlspace, and outdoor condenser units can be repositioned away from rooflines where falling debris tends to collect. Homeowners can also specify impact-rated housing enclosures, hurricane straps, and elevated concrete pads for outdoor equipment during the rebuild.
Because these projects touch structural elements, electrical systems, and mechanical layouts simultaneously, it’s worth coordinating the HVAC contractor’s input early in the design phase rather than treating it as an afterthought. Doing so can prevent costly rework, such as discovering after framing is complete that a planned duct run no longer fits.
- Ask contractors about moisture-resistant materials (mold-resistant drywall, closed-cell spray foam, treated framing) for any rebuilt spaces
- Consider updated insulation and sealing, such as upgrading to higher R-value insulation or adding weatherstripping around ductwork penetrations
- Use renovation as a chance to improve HVAC efficiency and layout, like resizing ductwork or relocating outdoor units to less storm-exposed areas
- Discuss whether a higher SEER-rated system makes sense given rebuild costs are already being incurred
- Factor in local building code updates, since post-storm rebuilds often must meet newer energy or wind-resistance standards
- Get multiple contractor quotes to compare long-term efficiency gains against upfront renovation costs
Reviving Outdoor Living and Recreation Areas

Storm damage does not stop at the HVAC system, and many homeowners also need to repair or replace outdoor recreation features damaged by fallen trees, flooding, or high winds. If your backyard included a swim spa or similar feature, it is worth having it inspected for structural cracks, electrical issues, or shifted foundations before use. These systems often share electrical panels with HVAC equipment, so storm damage to one can affect the other.
Restoring these outdoor spaces alongside your HVAC repairs helps return your property to full function rather than leaving it in a partially repaired state. Taking a whole-home approach also makes it easier to coordinate contractors and avoid duplicate work.
- Inspect electrical connections shared between outdoor features and HVAC systems
- Check for foundation shifting after heavy rain or flooding
- Confirm safety covers and drainage systems are functioning properly
Recovering from storm damage to your HVAC system often involves more than a single repair call, touching everything from your foundation to your flooring to your outdoor living spaces. Taking a methodical approach, starting with a thorough inspection and moving through each affected area of your home, helps ensure nothing gets overlooked. Start by documenting all visible damage and scheduling a professional evaluation as soon as possible, then work outward from there to address related issues before they become bigger problems. With the right plan in place, you can restore comfort to your home and build in more resilience for whatever the next storm brings.